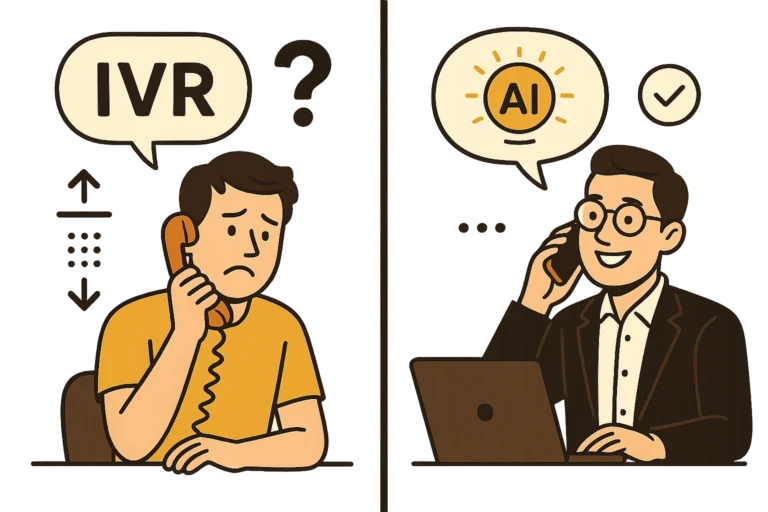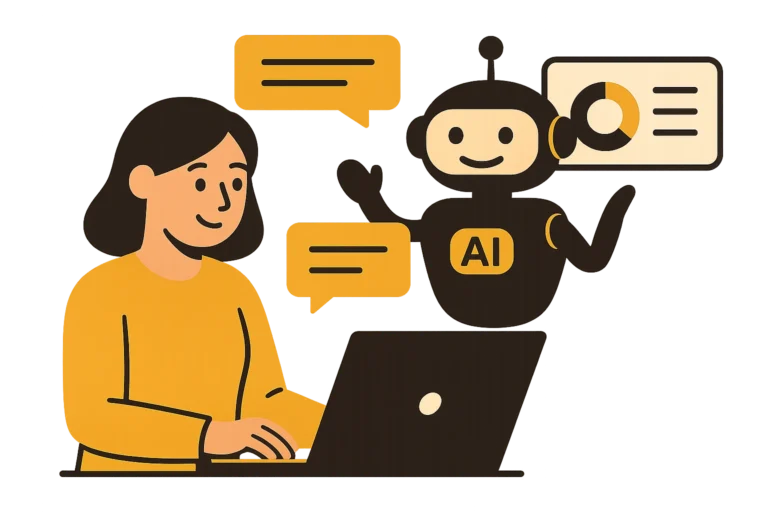
👋 Introduction: Why Every Modern Website Needs a Chatbot
Imagine a visitor lands on your website at midnight, full of questions.
But no one’s there to help… so they leave.
This is exactly why AI chatbots are no longer optional — they’re your always-on digital assistants, ready to welcome, assist, and convert visitors 24/7.
The good news? You don’t need to be a tech genius or hire a developer to implement one.
In this blog, we’ll show you exactly how to implement an AI chatbot on your website — step-by-step — the right way.
✅ Step 1: Define Your Chatbot’s Purpose
Before you even choose a platform, ask:
- What do I want the chatbot to do?
- Is it for lead generation? Customer support? Booking appointments?
- Do I want it to be proactive or reactive?
🎯 Example Goals:
- “Collect lead info from service pages”
- “Answer FAQs about pricing or delivery”
- “Book demo calls directly from chat”
This clarity will shape your chatbot’s flow and features.
✅ Step 2: Choose the Right Chatbot Platform
There are tons of tools out there — from free plugins to advanced AI platforms.
Here’s what we recommend for small to mid-sized businesses:
- Tidio – Easy to use, with AI and WhatsApp integration
- Landbot – Visual builder for complex logic flows
- Dialogflow – Google-powered NLP (more advanced)
- WhatsApp API + Chatbot (via Twilio) – For businesses focused on mobile
📌 At AIautomationservices.co, we help you select the best fit based on your goals, budget, and audience.
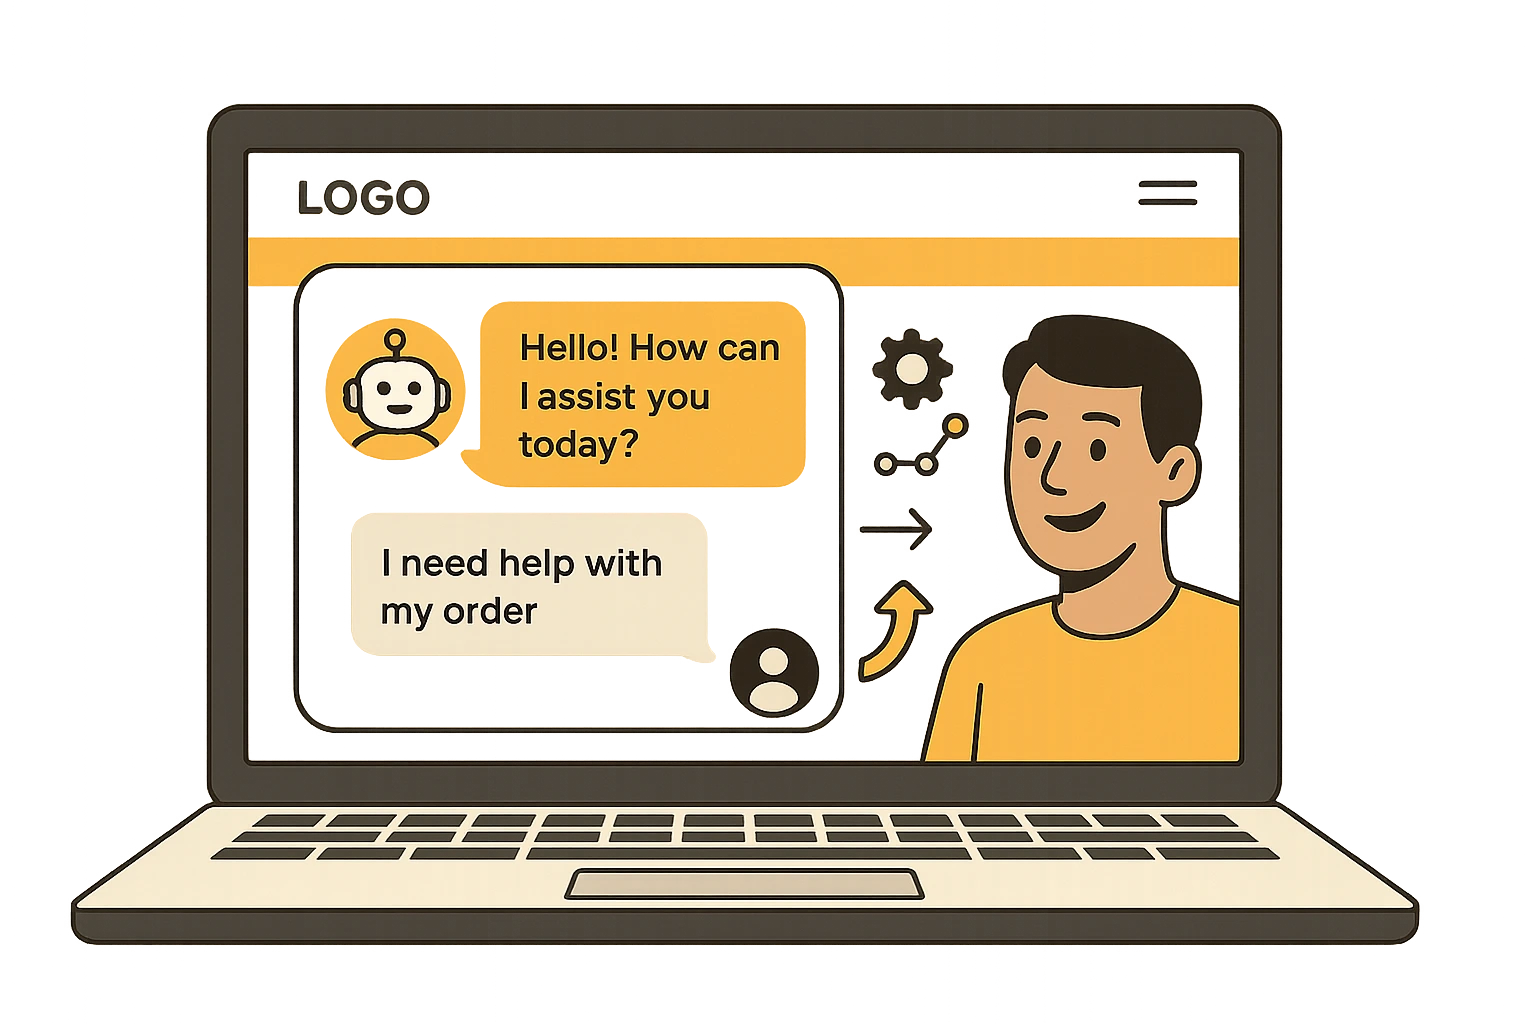
✅ Step 3: Design the Conversational Flow
This is where the magic happens.
A good chatbot isn’t just functional — it feels human.
💬 Example Flow for a Lead Generation Bot:
- “Hi there! Looking for AI automation help?”
- “Great! What service are you interested in?”
- “Can I get your name & email to share pricing?”
Keep it:
- Short
- Engaging
- Action-oriented
Also include quick replies, fallback options, and an option to speak with a human if needed.
✅ Step 4: Integrate It into Your Website
Most chatbot tools offer 2 methods:
- Copy-paste script code into your website’s
<head>section - Use a plugin (for WordPress, Shopify, etc.)
✅ For WordPress users:
If you’re using Elementor or any modern builder, just add an HTML widget and paste the script — that’s it.
No coding. No chaos.
✅ Step 5: Test the Chatbot Thoroughly
Before going live, test it from a visitor’s perspective:
- Does it load fast?
- Do all flows work properly?
- Is the bot mobile-friendly?
- What happens if someone asks something unexpected?
💡 Tip:
Test on Chrome, Safari, and mobile. Small bugs can impact trust and conversions.
✅ Step 6: Connect It with Your Tools
Want the bot to actually do something with the data?
Integrate it with:
- Email tools (like Mailchimp, Klaviyo)
- CRMs (like HubSpot, Zoho, Salesforce)
- Google Sheets (for easy tracking)
- WhatsApp or Facebook Messenger
These connections allow you to automate follow-ups, move leads to your sales pipeline, or trigger emails — without lifting a finger.
At AIautomationservices.co, we offer these integrations in all chatbot plans.
✅ Step 7: Monitor, Analyze, Improve
Your first version won’t be perfect — and that’s okay.
Use built-in analytics or connect with tools like:
- Google Tag Manager
- Chatbot platform’s native dashboard
- Heatmap tools like Hotjar
Track:
- Drop-off points
- Conversion rates
- Click-throughs
Then tweak your flows accordingly.
We offer unlimited revisions and ongoing optimization for all clients.
🔚 Final Thoughts: Launch Your Chatbot with Confidence
Implementing an AI chatbot isn’t just about tech — it’s about delivering value instantly.
Whether it’s answering questions, qualifying leads, or guiding buyers — chatbots make your website work smarter.
And once it’s set up correctly, it becomes your most reliable team member, working 24/7, asking nothing in return.
💼 Need Help Building It Right?
👉 Choose a Done-for-You Plan
👉 Request a Custom Setup
👉 Contact Our Support Team
We’ll build, connect, test, and launch your AI chatbot in just 7–14 days, with full revisions and support.